When it comes to editing videos, something you may want to do is trim videos. This allows you to only keep the parts of a video that you actually need. VLC includes the ability to trim your videos by cutting them into short clips. You might use these clips in a presentation or post them on social media, for instance. Whatever you need it for, we’ll show you how to trim videos with VLC Media Player for clips below.
How to Trim a Video in VLC Media Player
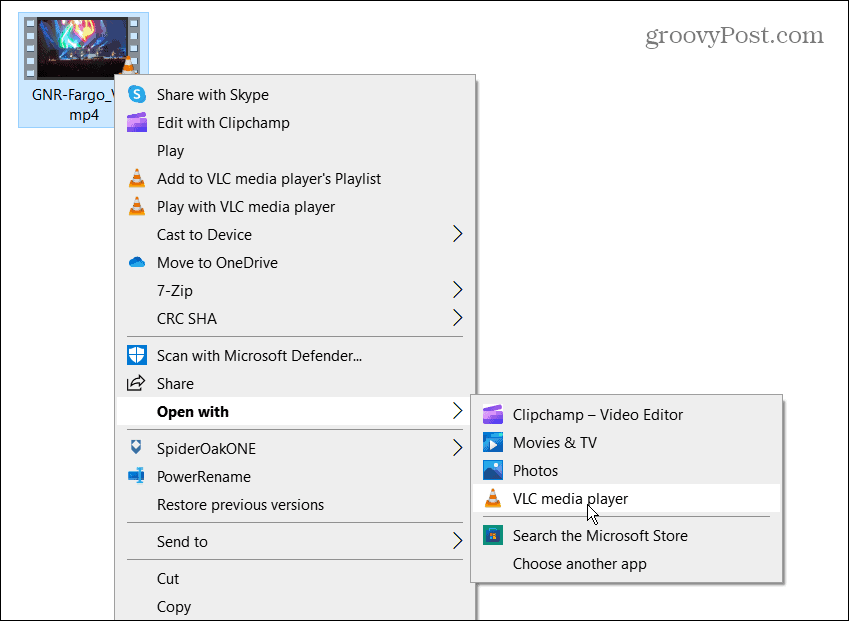
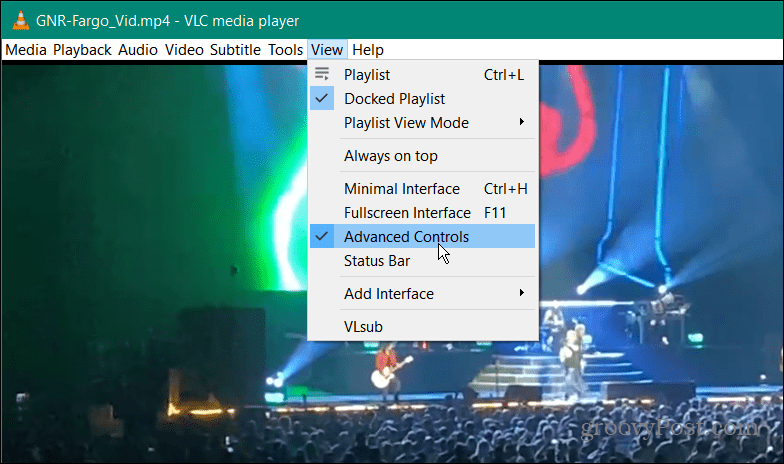
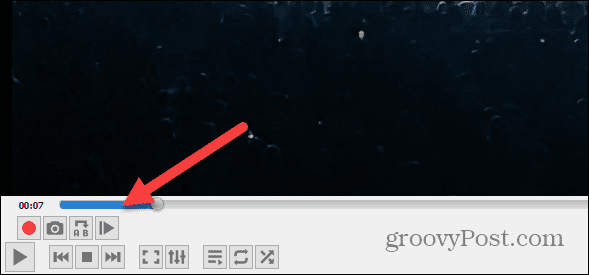
Trimming a video with VLC is basically recording the part of the video you want only. After recording the section, you want, you can save it to a specific location on your PC. To trim a video in VLC Media Player:
How to Find Cut Videos in VLC
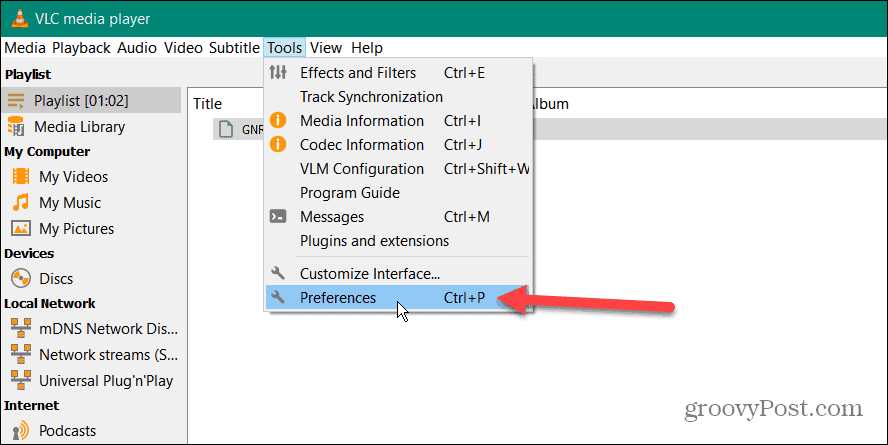
After you’re done recording only the section of the video you want, you’ll need to find the cut video files. To find your trimmed videos in VLC:
Trimming Videos with VLC
Using VLC to trim a video into smaller, specific sections and create clips is straightforward using the steps above. However, if you’re going to perform complex video editing, you’ll want to use something like Microsoft’s Clipchamp or TechSmith’s Camtasia. As we mentioned, VLC Media Player isn’t just for watching videos. It includes other useful features, allowing you to move a video frame-by-frame (perfect for screenshots) and rotate videos, among others. You can also use VLC to convert video files to MP3 or record your desktop screen. You can even use VLC to record your webcam. Comment Name * Email *
Δ Save my name and email and send me emails as new comments are made to this post.
![]()


