If you run multiple computers on your network, it’s a pain to switch from system to system to control it. First, install Mouse without Borders on the first Windows PC you want to share the same mouse and keyboard with. Installation is easy following the wizard.
Since this is the first system Mouse without Borders is being installed on, click NO. Then just follow the on-screen directions – leave the screen up as you’ll need it for the other system.
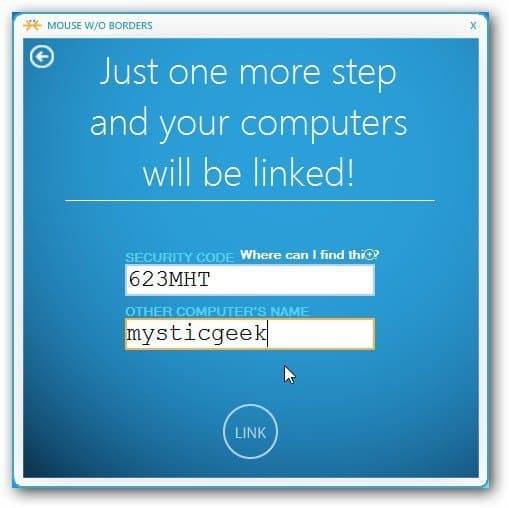
On your other machine, install Mouse without Borders. Then enter the Security Code and name of the first computer you installed it on. Click Link.
The Success screen comes up on both of your computers.
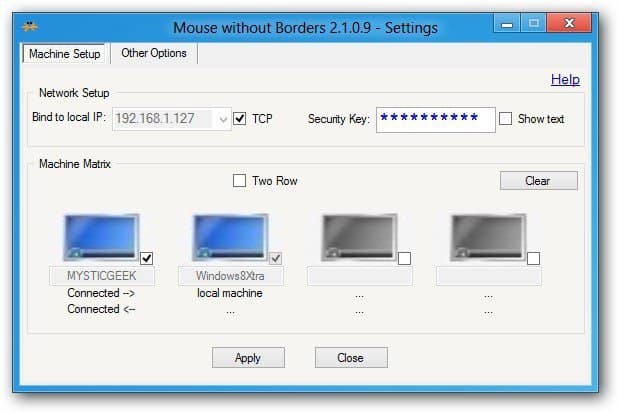
I installed it on a Windows 7 and 8 computer. Now you’ll have the Mouse without Borders settings on both of your machines.
There’s other settings you can configure which are geared toward keyboard masters.
I’ve found that using Mouse without Borders is easier to use than similar free apps like Synergy or Input Director. It also offers more cool features like sharing files between computers. Just right-click a file on one PC, move your mouse over to the other computer and paste it. Here I am copying a file from my Windows 7 computer over to the Windows 8 system.
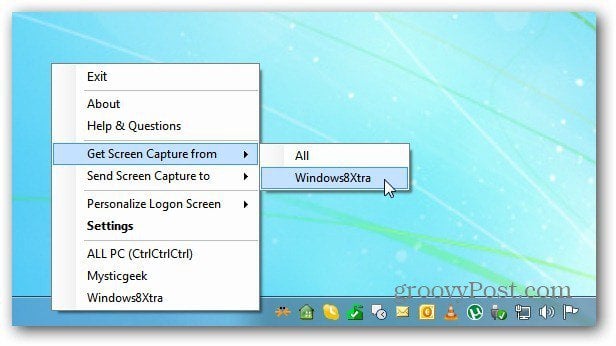
It also lets you take a screenshot from one system and send the other. Here I am getting a screenshot of the Windows 8 system. Right-click the Mouse without Borders icon on the taskbar and select Get Screen Capture from.
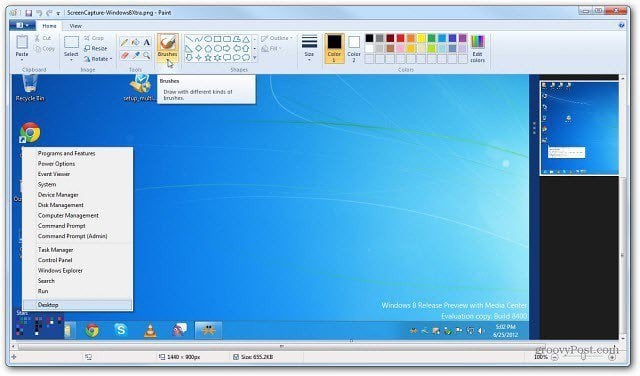
The screenshot from the other computer comes up in Microsoft Paint.
If you need the ability to share one keyboard and mouse with multiple Windows systems, Mouse without Borders is a feature-rich utility for the job. And it’s free. Comment Name * Email *
Δ Save my name and email and send me emails as new comments are made to this post.
![]()


